
TRIPOD MAINTENANCE
Consistently cleaning and correctly maintaining your Really Right Stuff tripod will extend its life and keep it performing like brand-new for a longer amount of time. These cleaning tips are applicable to other tripod brands, although the disassembly and reassembly methods will vary depending on the brand. In actuality, there’s no real secret to it. Your best weapon is warm water, and a gentle dishwashing agent, paired with a dish towel. For removing dirt, mud, and most other contaminants, nothing more is required, other than elbow grease. For more in-depth information, this video shows you how to disassemble, clean, lubricate, and reassemble your Really Right Stuff carbon fiber tripod legs, angle joints, and pull-tab system.
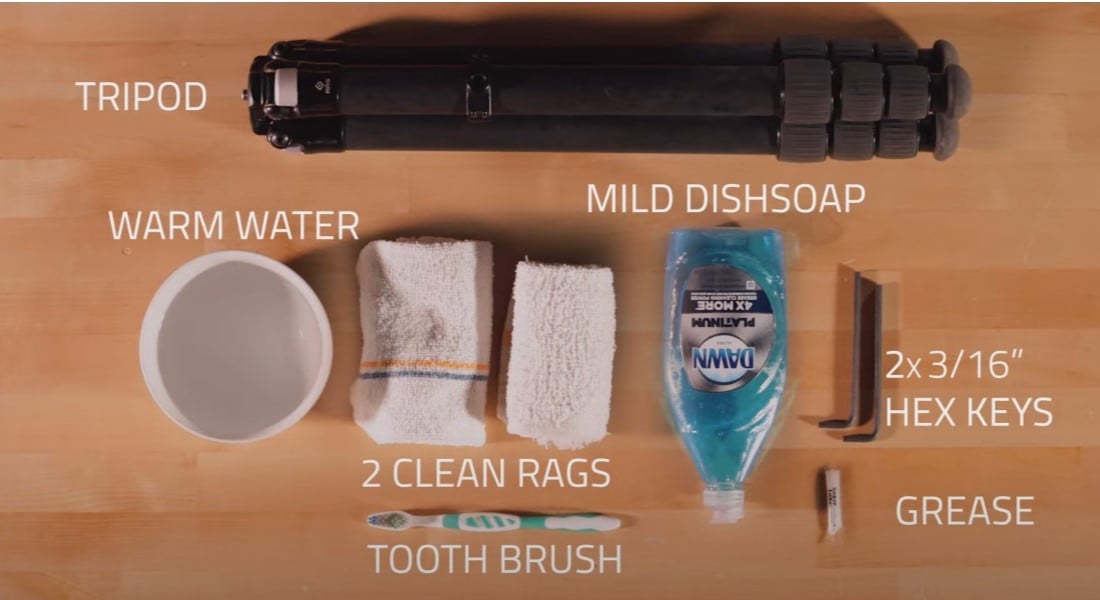
What you'll need:
- Your Tripod
- Warm Water
- 2 Clean Rags
- Toothbrush
- Mild Dishsoap
- The two 3/16" hex keys provided with your tripod
- Synthetic Grease
Step 1:
Remove the feet from the bottom of your tripod legs. Clean with warm, soapy water and one of the rags. Set aside.
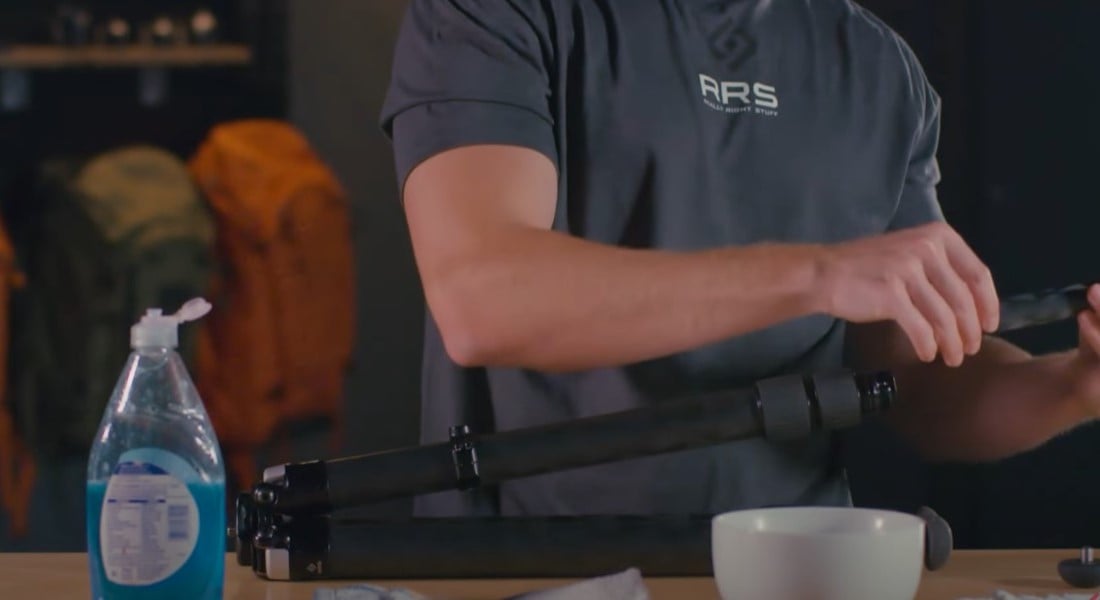
Step 2:
Remove and set aside the two anti-twist sleeves. These sleeves are sized for each leg section, so make sure to keep them together.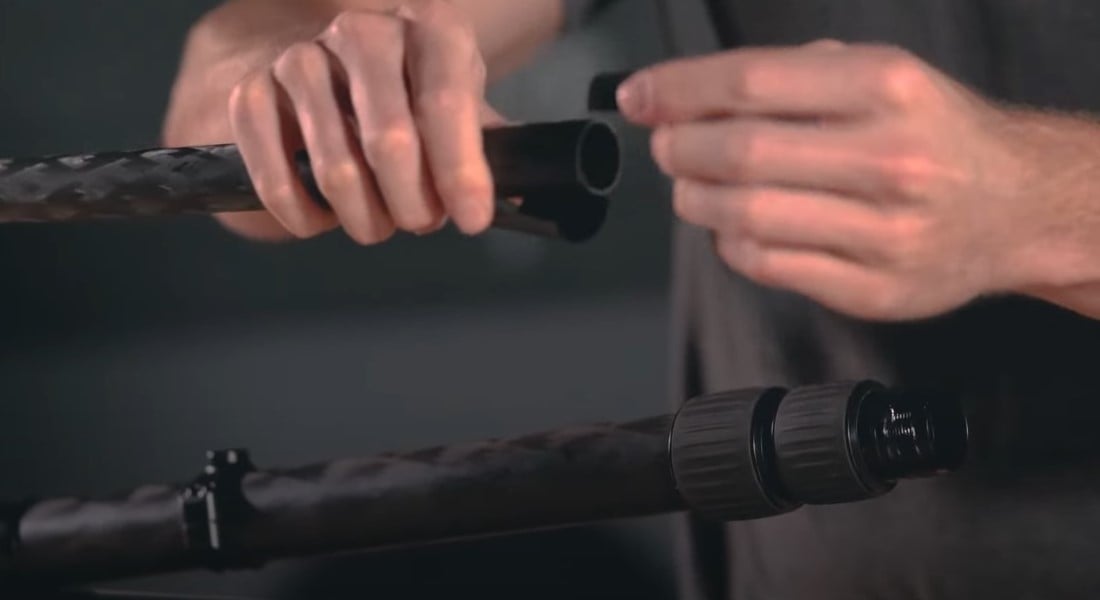
Step 3:
Take off the twist-locks.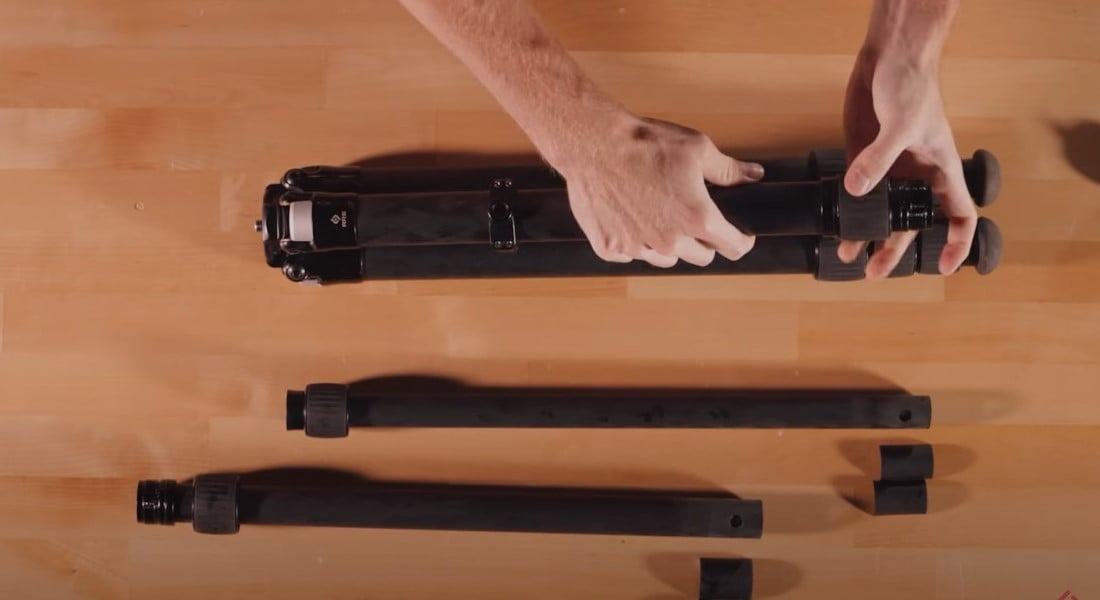
Step 4:
Wipe down the leg shafts with warm soapy water and a rag.

Step 5:
Take the toothbrush dipped in warm soapy water, and clean between the grooves on the twist locks.

Step 6:
Once all the legs are taken apart, take the two 3/16 hex keys and place them into the axle screws.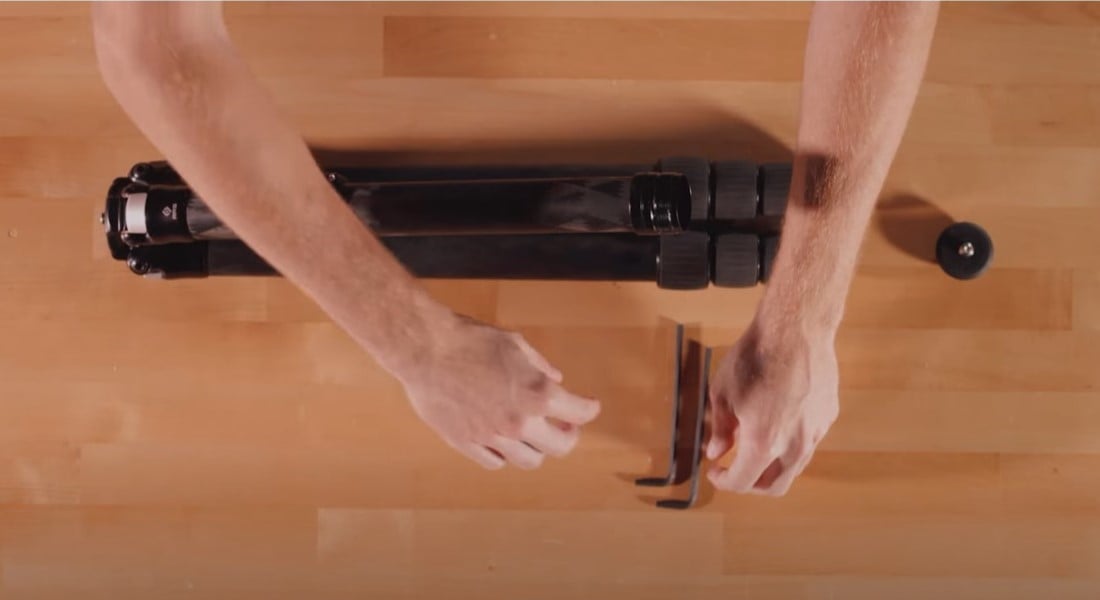
Step 7:
Use the left hex key as an anchor, and twist the right hex key to slowly unscrew the axle screws from the clevis.

Step 8:
Use a hex key to push the axle screw through to remove it from the clevis.
Step 9:
Once the axle screw is removed, remove the washers, and set aside. 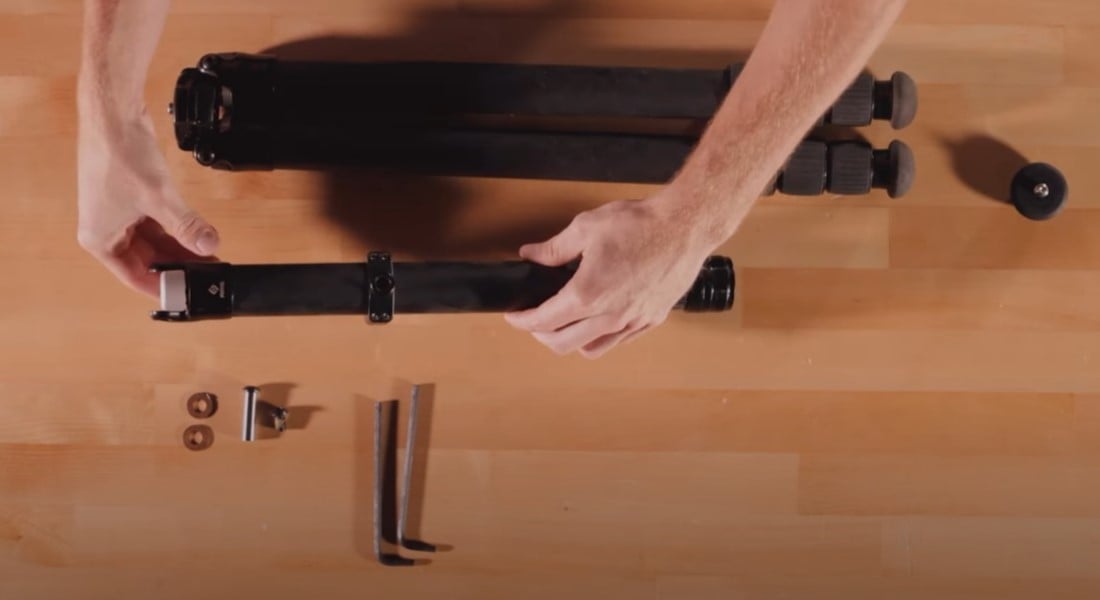
Step 10:
Carefully remove the pull tab. If your pull-tab has a spring and black plastic bushing, remove it and set aside. Note the direction and placement of the spring and bushing for reference when replacing.
Step 11:
Using warm soapy water and a rag, clean out the clevis.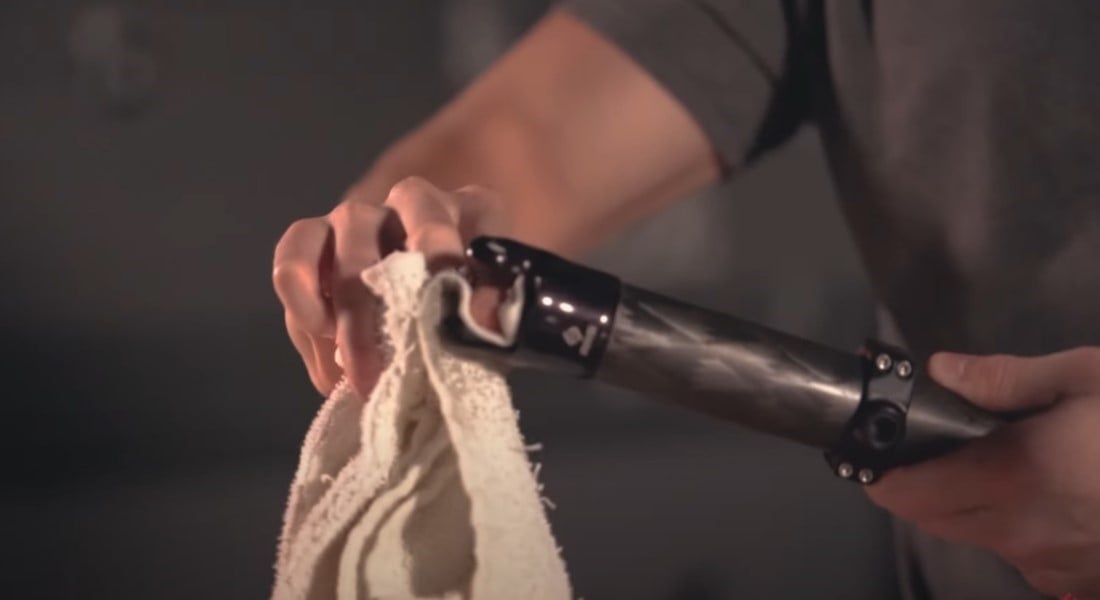
Step 12:
Once the tripod is fully dry, place the pull tabs back onto the clevis. Make sure the spring and bushing are facing the same way they were previously in. 
Step 13:
Spread a thin layer of synthetic grease on each side of the washers. 
Step 14:
Replace the washers on either side of the clevis.
Step 15:
Gently guide the clevis back into the apex, making sure that the washers stay in place.
Step 16:
Once the leg is lined up to the apex, replace the axle screws, and re-tighten. Make sure not to overtighten the axle screws as this can cause damage, and cause your legs to not open fluidly.
Step 17:
Once your axle screws are tightened, you can test the tension by holding the tripod by one leg section. It should be tight enough to support the weight of the tripod.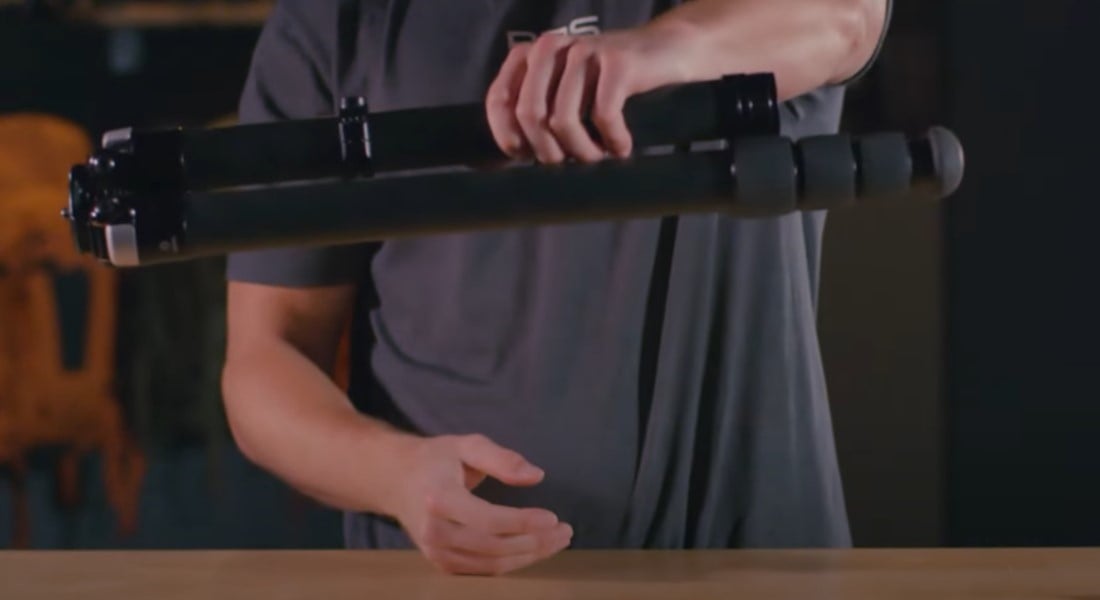
Step 18:
Use a thin layer of synthetic grease on the grooves of the twist locks. 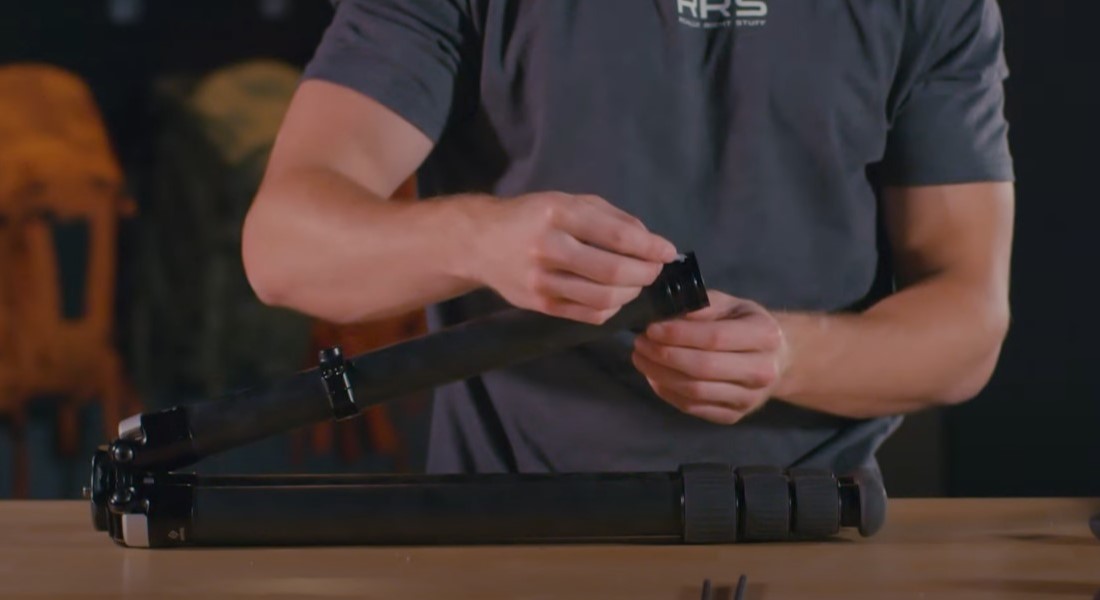
Step 19:
Take the twist lock, and place it onto the next leg section.
Step 20:
Replace the anti-twist sleeves at the top of the leg section. Line up the cutouts on the leg section to the coordinating projected circles on the anti-twist sleeves. 
Step 21:
Line up the grooves on the inside of the leg to the gaps in the anti-twist sleeves, and slide in the leg. 
Step 22:
Slide the the leg section into the other leg section, and push it all the way in. 
Step 23:
Realign and screw on the twist locks.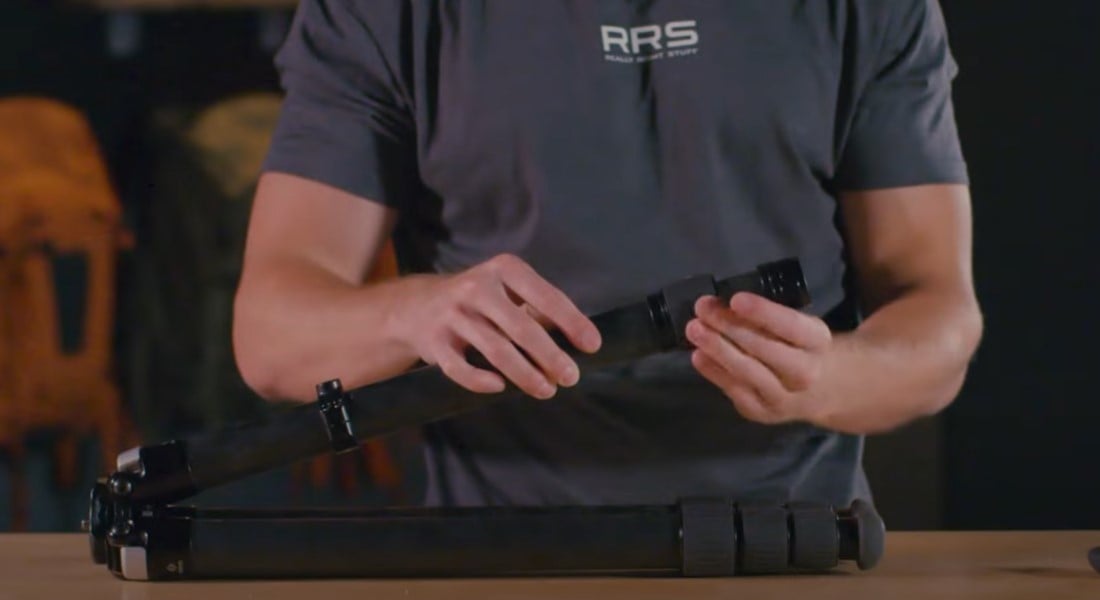
Step 24:
Screw on the feet.
Step 25:
And you're done! Your tripod is ready to take on your next adventure!
For more videos on how to care for your Really Right Stuff tripod, click here.
Article Version: 1.01.09.22